We took a very simple pie crust recipe and made 2 pies... well, a pie and a "free form" tart. This isn't the most healthy recipe, but really we all know that the best pie crusts are actually made with lard, and crisco isn't as bad as that even. This recipe makes enough for 6 crusts (enough for 6 single-crust [like chocolate-cream pie] or 3 double-crust [like an apple pie]), and it is very easy to "halve" in case you only want one or two pies. The rest of the crust will keep, tightly covered, in the fridge for up to 6 weeks - perfect for summer berry pies or winter apple, pecan, or pumpkin pies.
Here's what to do:
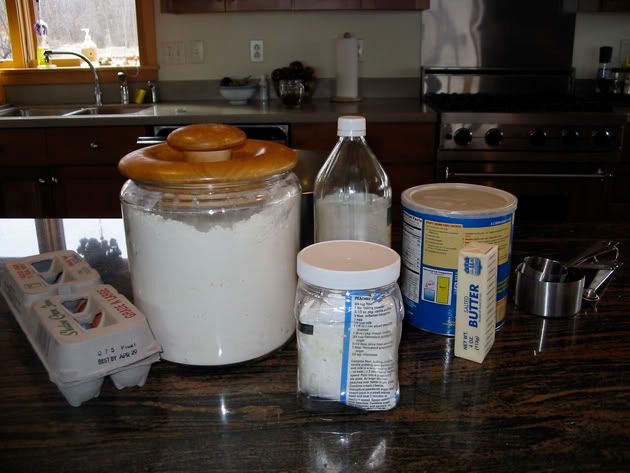
Take 2 sticks of butter, 2 sticks (or the equivalent cup measurement) of crisco, 4-1/2 cups of flour, 1/2 cup confectioner's sugar (optional), 1 tablespoon white vinegar, 1 egg, and enough water to fill up a 1-cup measurement after the egg and vinegar have been put into that 1 cup.
To measure out the liquid:
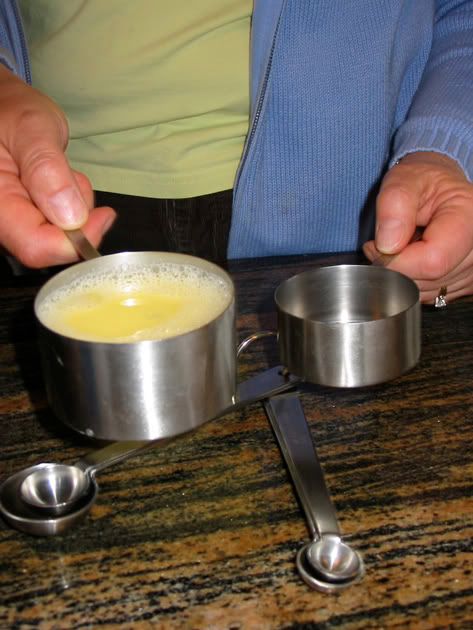
Whisk the egg and vinegar together in a larger bowl and place them in a 1-cup measuring cup. Add enough water to fill the cup. Stir. And, if you are only doing half of the recipe, fill a 1/2 cup measuring cup with this liquid, and pour the rest off. Easy.
Mix all dry ingredients and butter and crisco with a pastry blender until crumbly.
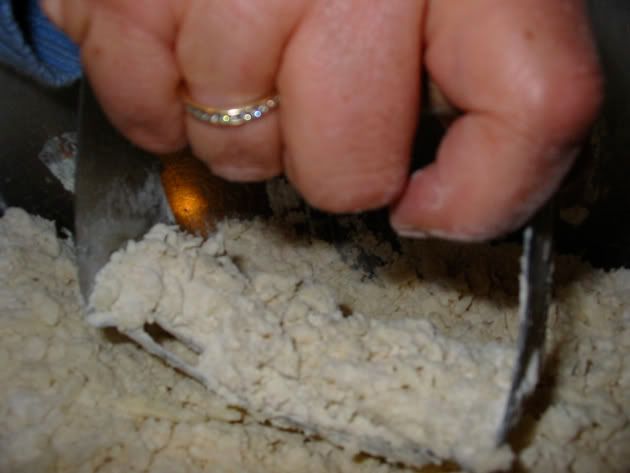
Pour the liquid into the dry mixture, and knead until the dough is soft. Sprinkle the dough with flour if it is too sticky, to make it easier to roll out.
You can chill this dough for 1/2 hour in the fridge, or it can be used at once.
Roll out your crusts one at a time on a lightly floured surface - we used a linen towel. It's a good idea to have your pie plate at the ready, so that you can gauge how large you need to roll the dough.
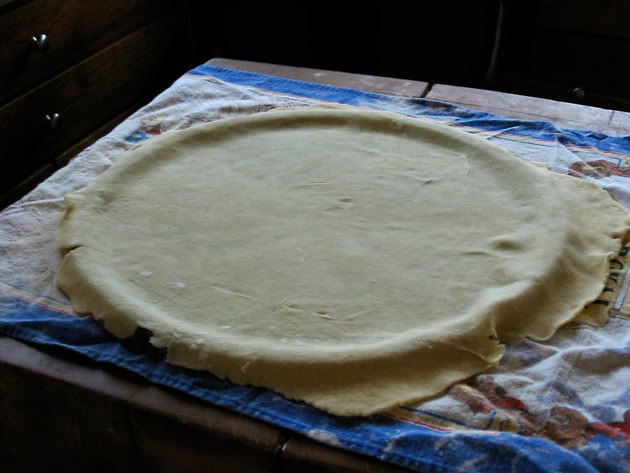
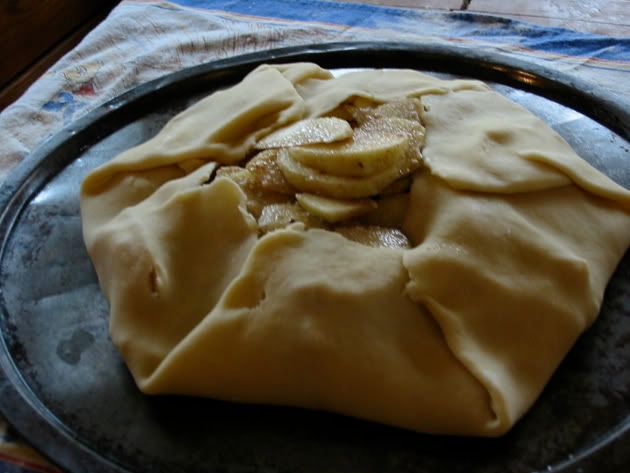
This is the tart, and we baked it on a pizza pan. After rolling out the crust, we filled it with 6 sliced apples that had been tossed with sugar, cinnamon, and tapioca (which absorbs the juice and keeps the pie from being too soggy).
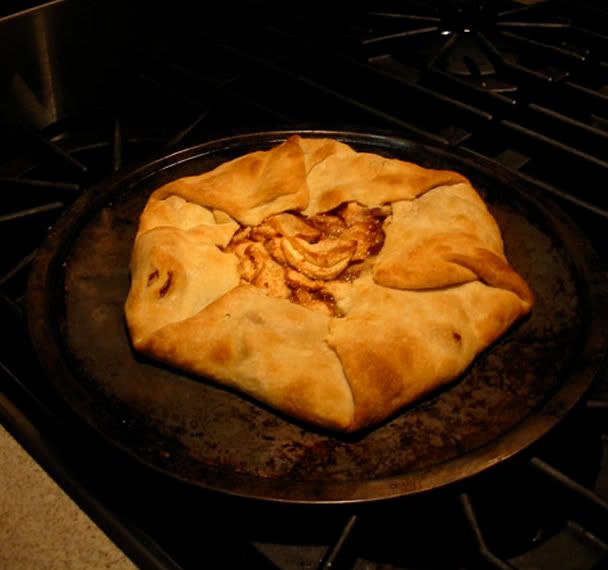
Ta-Da! Beautiful, easy rustic apple tart. This is also beautiful with berries.
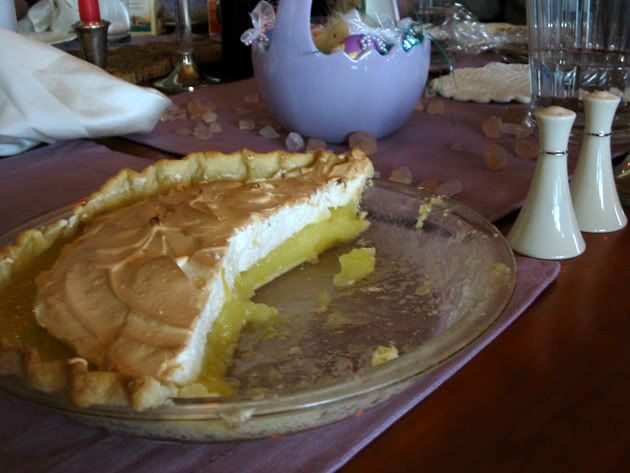
This is the pie shell - we pricked the bottom and the sides and baked it for about 10 minutes before putting in the lemon curd.

And the after-shot (by after I mean After Dinner):
If you want a shiny crust, you can brush it with a beaten egg. Bake at 400 degrees for 10 minutes, then lower heat to 350 until pie is done (check your pie filling recipes for specifics on this).

2 comments:
Mmmmm... I'll be right over for a slice! Congrats on the new blog.
So far, I ain't seen nothin' ugly, but plenty of tasty! Now I'm hungry....
Post a Comment